上一篇
安卓增强现实如何实现
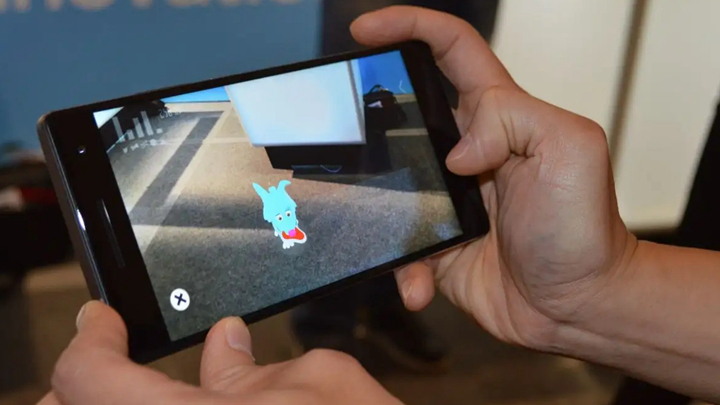
安卓增强现实通过ARCore/SDK调用摄像头与传感器,结合SLAM定位及三维渲染引擎实现虚拟信息与现实的实时融合
安卓增强现实实现方案
开发环境准备
开发工具
- Android Studio(需更新至支持ARCore的版本)
- 安卓设备(需支持ARCore,如Pixel系列或部分三星/华为旗舰机)
- ARCore SDK(谷歌官方增强现实开发框架)
依赖配置
在build.gradle中添加ARCore依赖:implementation 'com.google.ar:core:1.24.0'
权限配置
在AndroidManifest.xml中声明摄像头和存储权限:<uses-permission android:name="android.permission.CAMERA" /> <uses-permission android:name="android.permission.WRITE_EXTERNAL_STORAGE" />
核心功能实现
运动跟踪(Motion Tracking)
原理:通过设备传感器(加速度计、陀螺仪、摄像头)实时捕捉设备位置和姿态。

代码示例:
// 创建AR会话
Session session = new Session(this, / 配置 / Session.Feature.MOTION_TRACKING);
// 配置平滑模式
Config config = new Config(session);
config.setMotionTrackingMethod(TrackingMethod.SMOOTH_TRACKING);
session.configure(config);
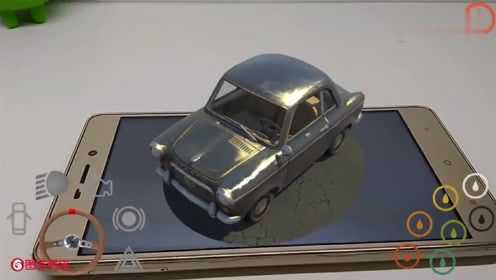
平面检测(Plane Detection)
作用:识别现实世界中的平面(如地面、桌面),用于放置虚拟物体。
实现步骤:
// 启用平面检测
Config config = session.getConfig();
config.setPlaneFindingMode(PlaneFindingMode.HORIZONTAL_RAW_METHOD);
session.configure(config);
// 监听平面检测结果
session.registerListener(new PlaneDiscoveryListener() {
    @Override
    public void onPlaneDiscovered(Plane plane) {
        // 在平面上放置锚点
        Anchor anchor = plane.createAnchor(plane.getCenterPose());
        Node node = new Node();
        node.setParent(anchor);
        // 加载3D模型或UI元素
    }
});
光线估计(Light Estimation)
功能:获取环境光照信息,使虚拟物体阴影与真实环境匹配。
代码示例:
// 获取光线估计
session.update();
Frame frame = session.getLatestFrame();
LightEstimate light = frame.getLightEstimate();
// 设置虚拟物体的光照参数
MaterialFactory.makeOpaqueWithColor(this, new Color(light.getColor().r, light.getColor().g, light.getColor().b))
    .thenAccept(material -> node.setMaterial(material));
渲染与优化
3D模型渲染(使用Sceneform)
- Sceneform库:谷歌提供的高性能3D渲染库,简化OpenGL操作。
- 步骤:
- 将
.obj或.fbx模型导入Sceneform工具生成.sfa文件。 - 在项目中加载模型:
ModelRenderable.builder()
    .setSource(this, R.raw.model)
    .build()
    .thenAccept(renderable -> node.setRenderable(renderable));
- 将
性能优化
| 优化方向 | 具体措施 |
|---|---|
| 帧率控制 | 限制AR会话帧率为30FPS(session.setFrameRate(30)) |
| 模型简化 | 使用低多边形模型,减少顶点数量 |
| 纹理压缩 | 采用ETC或PVRTC格式压缩纹理 |
| 多线程处理 | 将图像处理任务移至子线程 |
交互与事件处理
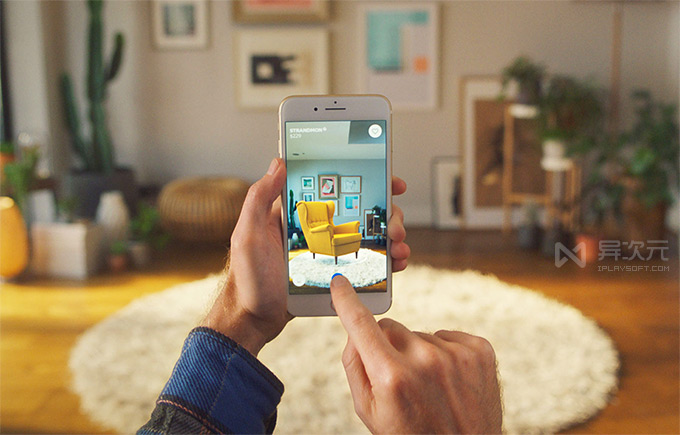
触摸交互
- 原理:通过屏幕点击位置与AR空间坐标转换,确定虚拟物体的位置。
- 代码示例:
// 将屏幕坐标转换为世界坐标
HitResult hitResult = frame.hitTest(tapX, tapY);
if (hitResult.getTrackable() instanceof Plane) {
    Anchor anchor = hitResult.createAnchor();
    Node node = new Node();
    node.setParent(anchor);
    // 添加3D模型或UI元素
}
手势识别
- 缩放与旋转:通过
ScaleGestureDetector和RotateGestureDetector实现物体交互。 - 示例:
ScaleGestureDetector scaleDetector = new ScaleGestureDetector(context, new ScaleGestureDetector.OnScaleGestureListener() {
    @Override
    public boolean onScale(ScaleGestureDetector detector) {
        float scaleFactor = detector.getScaleFactor();
        node.setWorldScale(new Vector3(scaleFactor, scaleFactor, scaleFactor));
        return true;
    }
});
高级功能扩展
图像识别(Image Target)
- 实现方式:使用Vuforia或ARToolKit识别预定义图片,作为虚拟物体的锚点。
- 步骤:
- 在数据库中添加目标图片。
- 通过
arCamera.recognizeImage()检测图像并触发AR内容。
多用户协作(Cloud Anchors)
- 原理:将本地锚点上传至云端,其他用户可通过相同锚点共享AR内容。
- 限制:需ARCore支持且网络延迟较低。
常见问题与解答
问题1:如何提升AR应用的流畅度?
解答:
- 限制帧率(如30FPS)以降低功耗。
- 使用轻量化模型(多边形<10万,纹理分辨率<1024×1024)。
- 避免频繁创建/销毁节点,复用资源。
- 启用ARCore的“自动暂停”模式(
session.pause()在后台时)。
问题2:AR应用在低端设备上的适配策略?
解答:
- 动态调整渲染质量(如关闭光线估计、降低模型精度)。
- 检查设备是否支持ARCore(
ArCoreApk.getInstance().requestInstall())。 - 使用替代方案(如基于标记的AR,减少实时计算依赖)。