上一篇
opencv for android配置遇到难题?揭秘高效解决方案及常见问题解答
opencv for android配置:
环境准备
在配置OpenCV for Android之前,我们需要确保以下环境已经准备好:
- 安装Android Studio:下载并安装Android Studio,这是Android开发的主要IDE。
- 设置Android SDK:在Android Studio中配置Android SDK,包括SDK Tools、SDK Platform和对应API级别的SDK Platform-Tools。
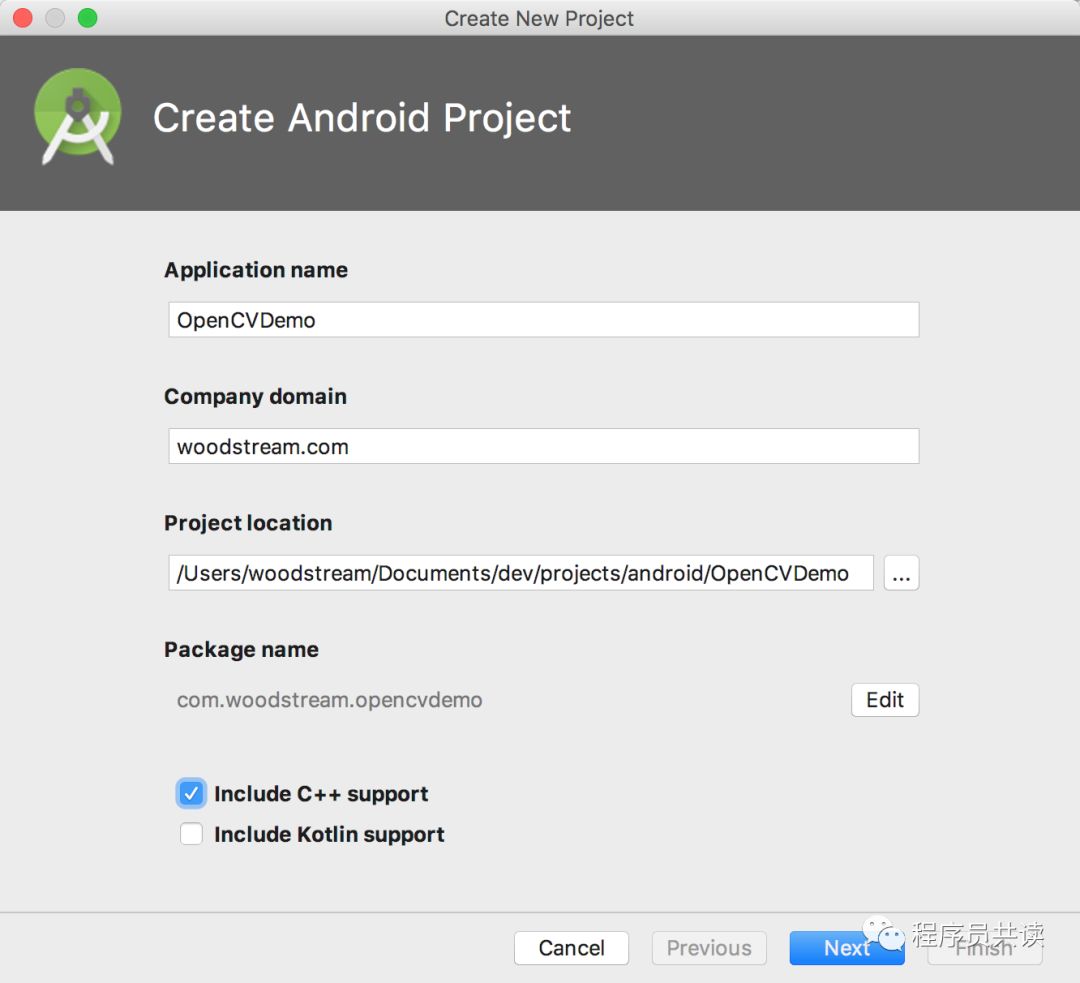
- 创建Android项目:使用Android Studio创建一个新的Android项目。
下载OpenCV库
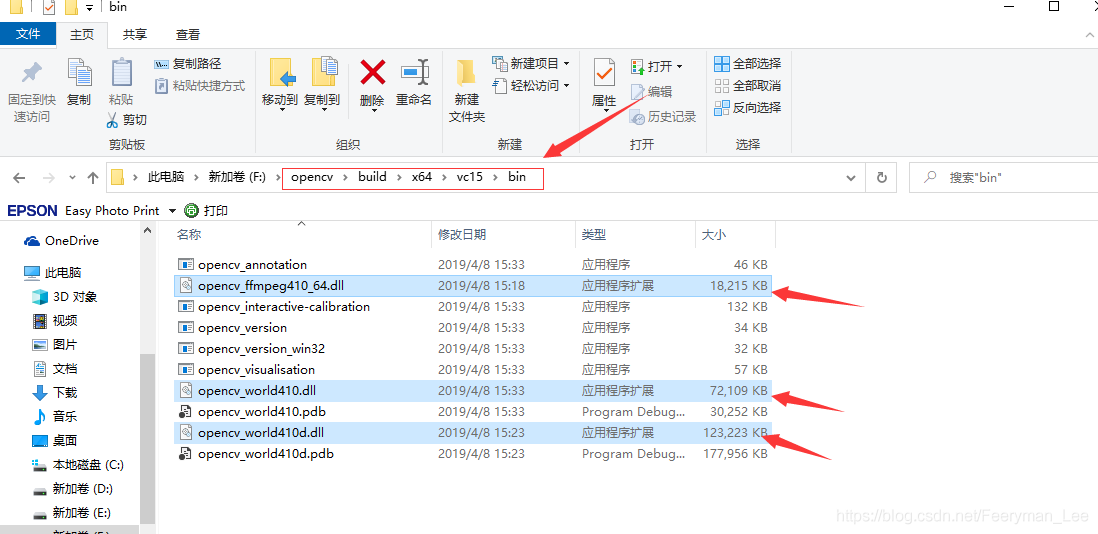
- 访问OpenCV官网(https://opencv.org/),下载适用于Android的OpenCV库,选择合适的版本,通常推荐下载最新的稳定版。
- 解压下载的OpenCV库压缩包。
配置Android项目
- 打开Android Studio,找到已创建的项目,右键点击项目名称,选择“Open Module Settings”。
- 在弹出的窗口中,切换到“Android”选项卡。
- 在“Module Configuration”部分,找到“C/C++”选项卡。
- 在“Compile Sources”和“Compile Include Paths”中添加OpenCV库的路径。
配置CMake
- 在项目根目录下创建一个名为CMakeLists.txt的文件。
- 在该文件中,添加以下内容:
cmake_minimum_required(VERSION 3.4.1) add_library( # Sets the name of the library. native-lib # Sets the library as a shared library. SHARED # Provides a relative path to your source file(s). native-lib.cpp ) find_library( # Sets the name of the path variable. log-lib # Specifies the name of the NDK library that # you want CMake to locate. log ) target_link_libraries( # Specifies the target library. native-lib # Links the target library to the log library # included in the NDK. ${log-lib} ) include_directories(${OPENCV_INSTALL_MODULES}/android/java/jni) find_library( # Sets the name of the path variable. opencv-lib # Specifies the name of the NDK library that # you want CMake to locate. ${OPENCV_LIB_NAME} ) target_link_libraries( # Specifies the target library. native-lib # Links the target library to the log library # included in the NDK. ${opencv-lib} )
- 修改${OPENCV_INSTALL_MODULES}/android/java/jni和${OPENCV_LIB_NAME}为实际的OpenCV库路径和库名称。
配置Gradle
- 在项目根目录下的build.gradle文件中,添加以下依赖:
dependencies { implementation fileTree(dir: 'libs', include: ['*.jar']) implementation 'androidx.appcompat:appcompat:1.1.0' implementation 'androidx.constraintlayout:constraintlayout:2.0.0' implementation 'androidx.lifecycle:lifecycle-livedata-ktx:2.2.0' implementation 'androidx.lifecycle:lifecycle-viewmodel-ktx:2.2.0' implementation 'androidx.navigation:navigation-fragment-ktx:2.3.1' implementation 'androidx.navigation:navigation-ui-ktx:2.3.1' implementation 'androidx.localbroadcastmanager:localbroadcastmanager:1.0.0' implementation 'org.opencv:opencv:4.1.0' }
- 在app模块的build.gradle文件中,添加以下配置:
android { compileSdkVersion 30 defaultConfig { applicationId "com.example.opencvandroid" minSdkVersion 21 targetSdkVersion 30 versionCode 1 versionName "1.0" testInstrumentationRunner "androidx.test.runner.AndroidJUnitRunner" ndk { abiFilters 'armeabi-v7a', 'arm64-v8a', 'x86', 'x86_64' } } buildTypes { release { minifyEnabled false proguardFiles getDefaultProguardFile('proguard-android-optimize.txt'), 'proguard-rules.pro' } } }
编译与运行

- 在Android Studio中,点击“Build”菜单,选择“Build Bundle(s) / APK(s)”,然后选择“Build Bundle(s) / APK(s) using Gradle”。
- 等待编译完成,生成APK文件。
- 安装并运行APK,查看OpenCV是否成功配置。
FAQs:
-
Q:在配置OpenCV for Android时,我遇到了编译错误,应该怎么办?
A:首先检查CMakeLists.txt文件中的路径是否正确,确保OpenCV库路径和库名称正确无误,检查C++源文件和头文件的路径是否正确,确保它们被正确添加到编译路径中。
-
Q:OpenCV for Android的配置过程很复杂,有没有更简单的方法?
A:可以使用第三方库,如opencv4android,它简化了OpenCV for Android的配置过程,你可以通过添加以下依赖到你的build.gradle文件中,来使用这个库:
dependencies { implementation 'org.opencv:opencv4android:4.1.0' }
然后按照库提供的文档进行配置即可。