上一篇
如何用ping生成网络报告文件?| 网络延迟测试完整教程
要使用 ping 命令测试网络连通性并将结果保存到文件,具体方法取决于操作系统和需求(如是否记录时间戳、持续监控等),以下是详细方法:
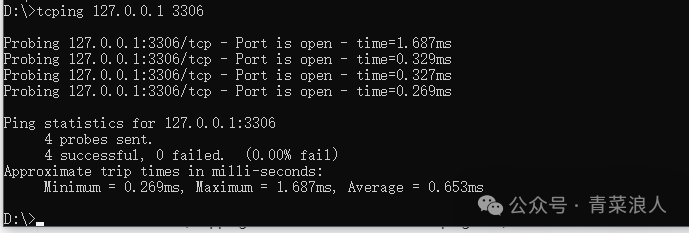
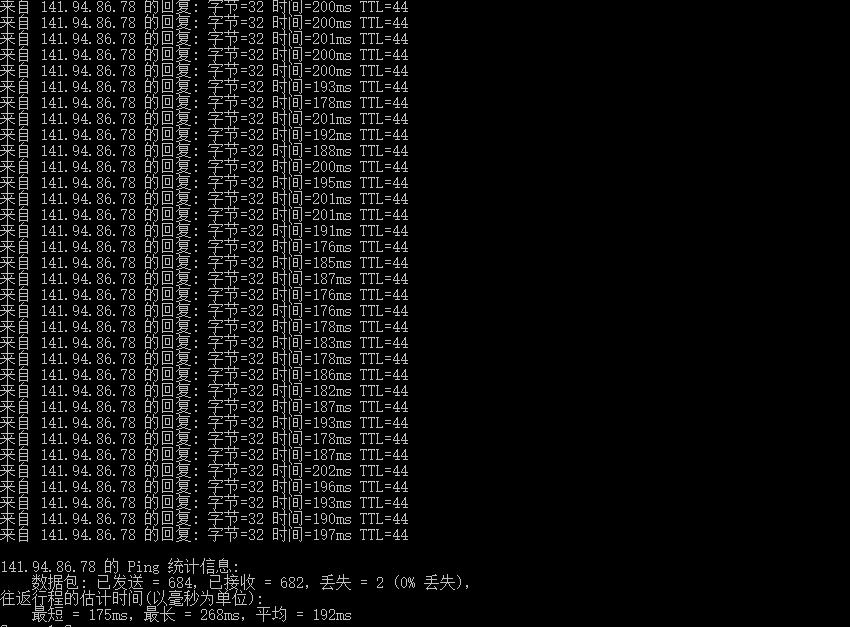
基本用法(一次性测试)
Windows
ping -n 10 www.example.com > ping_results.txt
- -n 10:发送 10 个数据包(可调整次数)。
- >:覆盖写入文件(>> 可追加结果)。
Linux/macOS
ping -c 5 www.example.com > ping_results.txt
- -c 5:发送 5 个数据包(默认持续运行,需用 -c 指定次数)。
- >:覆盖写入文件(>> 可追加)。
持续监控并记录(后台运行)
Windows(持续 Ping + 时间戳)
@echo off :loop echo [%date% %time%] >> ping_log.txt ping -n 1 www.example.com | find "Reply" >> ping_log.txt timeout /t 5 >nul # 等待 5 秒 goto loop
- 保存为 .bat 文件运行,按 Ctrl+C 停止。
- find "Reply" 仅记录成功响应(移除可记录全部结果)。
Linux/macOS(持续 Ping + 时间戳)
ping www.example.com | while read line; do echo "$(date): $line"; done >> ping_log.txt
- 直接在终端运行,按 Ctrl+C 停止。
- 所有结果附带时间戳保存到 ping_log.txt。
高级用法(跨平台 Python 脚本)
保存为 ping_monitor.py:
import subprocess import datetime target = "www.example.com" log_file = "ping_log.txt" with open(log_file, "a") as f: while True: try: timestamp = datetime.datetime.now().strftime("%Y-%m-%d %H:%M:%S") # Windows 用 'ping -n 1', Linux/macOS 用 'ping -c 1' result = subprocess.run( ["ping", "-n", "1", target] if subprocess.os.name == 'nt' else ["ping", "-c", "1", target], capture_output=True, text=True, timeout=5 ) output = result.stdout.strip() f.write(f"[{timestamp}] {output}n") f.flush() # 实时写入 except subprocess.TimeoutExpired: f.write(f"[{timestamp}] Request timed outn") except KeyboardInterrupt: break
运行:
python ping_monitor.py # 按 Ctrl+C 停止
关键参数说明
| 系统 | 参数 | 作用 |
|---|---|---|
| Windows | -n <次数> | 指定 Ping 次数 |
| -t | 无限 Ping(需手动停止) | |
| Linux/macOS | -c <次数> | 指定 Ping 次数 |
| -i <秒数> | 设置 Ping 间隔(默认 1 秒) |
注意事项
- 权限问题:确保对目标文件有写入权限。
- 停止监控:命令行中按 Ctrl+C 终止进程。
- 文件大小:长期监控可能生成大文件,需定期清理。
- 跨平台:Python 脚本适配 Windows/Linux/macOS。
选择适合场景的方法即可生成 Ping 测试文件!