上一篇
java项目怎么提供接口
Java 项目中,可通过定义接口类,使用注解(如 @RequestMapping 等)标注方法,
个Java项目中,提供接口是一项常见的任务,通常涉及到Web服务的创建,以下是详细的步骤和注意事项,帮助你在Java项目中成功提供接口。
选择技术栈
你需要选择合适的技术栈来构建和提供接口,常见的选择包括:
- Spring Boot: 一个流行的框架,简化了Java应用的开发和部署。
- JAX-RS (Jersey): Java的标准API,用于构建RESTful Web服务。
- Servlets and JSP: 传统的Java Web技术,适用于简单的Web应用。
设置项目结构
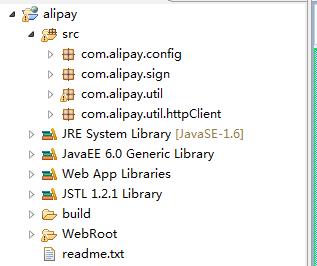
使用Maven或Gradle作为构建工具,可以简化依赖管理和项目构建,以下是一个典型的Maven项目结构:
my-java-project/ ├── src/ │ ├── main/ │ │ ├── java/ │ │ │ └── com/ │ │ │ └── example/ │ │ │ └── MyApplication.java │ │ └── resources/ │ └── test/ │ └── java/ └── pom.xml
创建RESTful API
以Spring Boot为例,创建一个简单的RESTful API:
a. 添加依赖
在pom.xml中添加Spring Boot Starter Web依赖:
<dependencies> <dependency> <groupId>org.springframework.boot</groupId> <artifactId>spring-boot-starter-web</artifactId> </dependency> </dependencies>
b. 创建主应用类
在src/main/java/com/example/MyApplication.java中:
package com.example; import org.springframework.boot.SpringApplication; import org.springframework.boot.autoconfigure.SpringBootApplication; @SpringBootApplication public class MyApplication { public static void main(String[] args) { SpringApplication.run(MyApplication.class, args); } }
c. 创建控制器
在src/main/java/com/example/controller/MyController.java中:
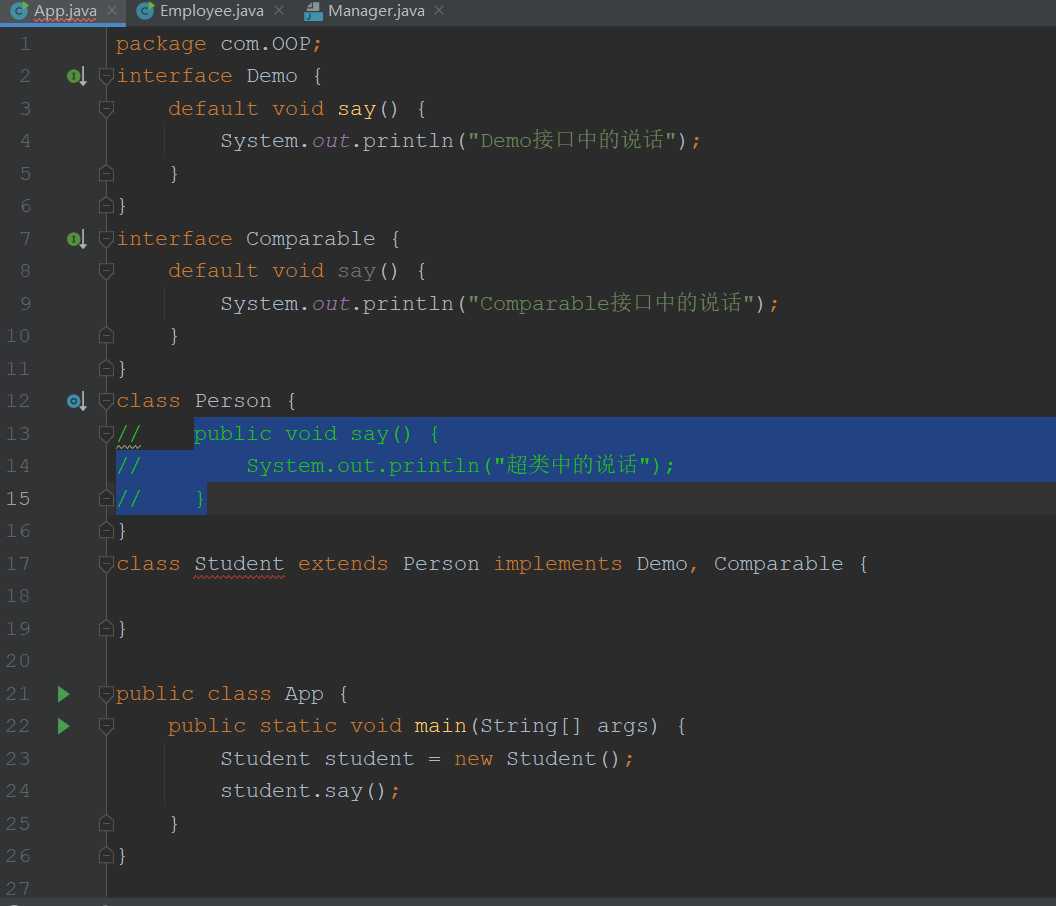
配置和运行
a. 配置文件
在src/main/resources/application.properties中,可以配置端口和其他设置:
server.port=8080
b. 运行应用
使用IDE的运行功能或命令行工具启动应用:
mvn spring-boot:run
测试接口
启动应用后,可以通过浏览器或Postman访问接口:
http://localhost:8080/api/hello
应返回Hello, World!。
安全性和认证
为了保护接口,可以添加Spring Security:

a. 添加依赖
在pom.xml中添加Spring Security依赖:
<dependency> <groupId>org.springframework.boot</groupId> <artifactId>spring-boot-starter-security</artifactId> </dependency>
b. 配置安全设置
在src/main/java/com/example/config/SecurityConfig.java中:
package com.example.config; import org.springframework.context.annotation.Bean; import org.springframework.context.annotation.Configuration; import org.springframework.security.config.annotation.web.builders.HttpSecurity; import org.springframework.security.config.annotation.web.configuration.EnableWebSecurity; import org.springframework.security.config.annotation.web.configuration.WebSecurityConfigurerAdapter; import org.springframework.security.crypto.bcrypt.BCryptPasswordEncoder; import org.springframework.security.crypto.password.PasswordEncoder; @Configuration @EnableWebSecurity public class SecurityConfig extends WebSecurityConfigurerAdapter { @Override protected void configure(HttpSecurity http) throws Exception { http .csrf().disable() .authorizeRequests() .antMatchers("/api/").authenticated() .and() .httpBasic(); } @Bean public PasswordEncoder passwordEncoder() { return new BCryptPasswordEncoder(); } }
部署和监控
a. 部署
可以将应用打包为JAR文件并部署到服务器:
mvn clean package java -jar target/my-java-project-0.0.1-SNAPSHOT.jar
b. 监控
使用Spring Boot Actuator进行应用监控:
<dependency> <groupId>org.springframework.boot</groupId> <artifactId>spring-boot-starter-actuator</artifactId> </dependency>
在application.properties中启用端点:
management.endpoints.web.exposure.include=
文档和测试
a. 文档
使用Swagger生成API文档:
<dependency> <groupId>io.springfox</groupId> <artifactId>springfox-boot-starter</artifactId> <version>3.0.0</version> </dependency>
在src/main/java/com/example/config/SwaggerConfig.java中:
package com.example.config; import org.springframework.context.annotation.Bean; import org.springframework.context.annotation.Configuration; import springfox.documentation.builders.PathSelectors; import springfox.documentation.builders.RequestHandlerSelectors; import springfox.documentation.spi.DocumentationType; import springfox.documentation.spring.web.plugins.Docket; import springfox.documentation.swagger2.annotations.EnableSwagger2; @Configuration @EnableSwagger2 public class SwaggerConfig { @Bean public Docket api() { return new Docket(DocumentationType.SWAGGER_2) .select() .apis(RequestHandlerSelectors.basePackage("com.example")) .paths(PathSelectors.any()) .build(); } }
访问http://localhost:8080/swagger-ui/查看API文档。
b. 测试
编写单元测试和集成测试,确保接口的正确性,使用JUnit和Mockito进行测试。
FAQs
Q1: 如何在Spring Boot中配置跨域请求?
A1: 可以在SecurityConfig类中添加CORS配置:
@Override protected void configure(HttpSecurity http) throws Exception { http .csrf().disable() .cors() .and() .authorizeRequests() .antMatchers("/api/").authenticated() .and() .httpBasic(); }
并在application.properties中配置CORS策略:
spring.mvc.cors.allowed-origins= spring.mvc.cors.allowed-methods=GET,POST,PUT,DELETE,OPTIONS
Q2: 如何限制接口的访问频率?
A2: 可以使用Spring Security的Throttle机制或集成第三方库如Bucket4j来实现限流,使用Bucket4j:
<dependency> <groupId>com.github.vladimir-bukhtoyarov</groupId> <artifactId>bucket4j-core</artifactId> <version>7.6.0</version> </dependency>
在控制器中添加限流逻辑:
@Autowired private Bucket bucket; @GetMapping("/limited") public String limitedAccess() { if (bucket.tryConsume(1)) { return "Access granted"; } else { return "Too many requests"; }