上一篇
html如何给图片添加按钮
使用HTML和JavaScript结合,通过在图片上覆盖一个
使用HTML和CSS实现图片添加按钮
在HTML中,可以通过多种方式给图片添加按钮,下面介绍几种常见的方法:
使用<button>元素与JavaScript
步骤:
- 在HTML中插入图片。
- 使用<button>元素创建按钮。
- 通过CSS定位按钮到图片的特定位置。
- 使用JavaScript为按钮添加点击事件,实现交互功能。
示例代码:
<!DOCTYPE html> <html lang="zh-CN"> <head> <meta charset="UTF-8">给图片添加按钮示例</title> <style> .image-container { position: relative; display: inline-block; } .image-container img { width: 500px; height: auto; display: block; } .image-button { position: absolute; top: 10px; left: 10px; padding: 10px 20px; background-color: #4CAF50; color: white; border: none; cursor: pointer; font-size: 16px; } </style> </head> <body> <div class="image-container"> <img src="your-image.jpg" alt="示例图片"> <button class="image-button" onclick="alert('按钮被点击了!')">点击我</button> </div> </body> </html>
说明:
- .image-container 设置为相对定位,以便内部的绝对定位元素(按钮)相对于容器定位。
- .image-button 使用绝对定位,将按钮放置在图片的左上角(可根据需要调整 top 和 left 的值)。
- 按钮的 onclick 属性绑定了一个简单的点击事件,可以根据需求更改为其他功能。
使用<a>标签包裹图片和按钮
步骤:
- 使用<a>标签将图片和按钮组合在一起。
- 通过CSS调整布局,使按钮覆盖在图片上。
示例代码:
<!DOCTYPE html> <html lang="zh-CN"> <head> <meta charset="UTF-8">使用链接添加按钮示例</title> <style> .link-container { position: relative; display: inline-block; } .link-container img { width: 500px; height: auto; display: block; } .link-button { position: absolute; top: 20px; right: 20px; padding: 10px 20px; background-color: #008CBA; color: white; text-decoration: none; font-size: 16px; border-radius: 5px; } .link-button:hover { background-color: #005f73; } </style> </head> <body> <a href="#" class="link-container"> <img src="your-image.jpg" alt="示例图片"> <span class="link-button">了解更多</span> </a> </body> </html>
说明:
- .link-container 作为相对定位的容器,包含图片和按钮。
- .link-button 使用绝对定位,将按钮放置在图片的右上角。
- 使用<span>元素作为按钮,并通过CSS样式模拟按钮效果。
- 可以更改href属性为实际链接地址,实现点击跳转功能。
使用CSS Sprites或背景图
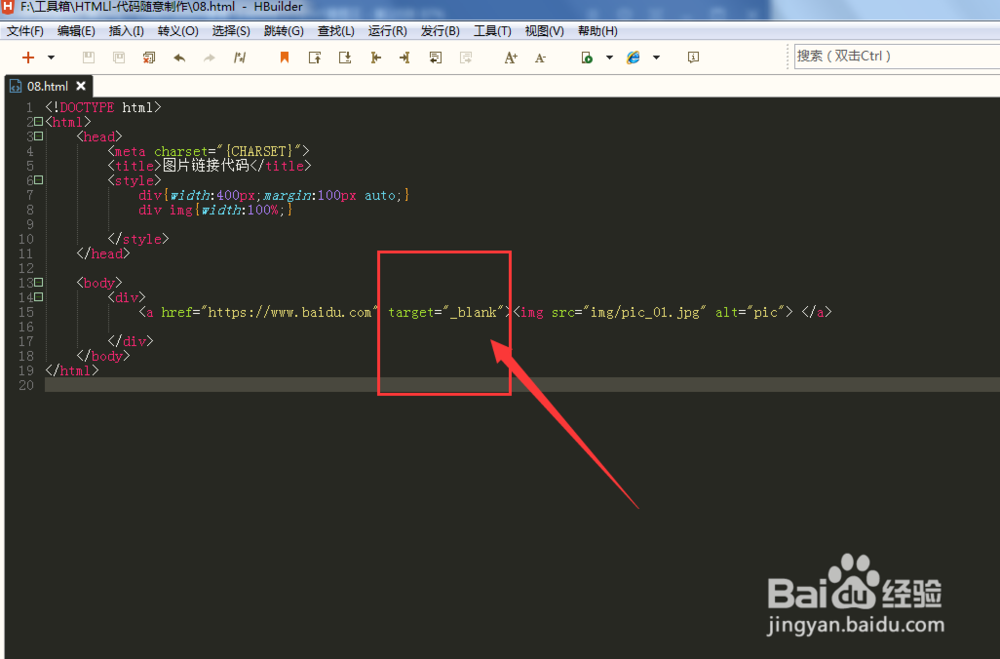
如果希望按钮与图片紧密结合,可以使用CSS将按钮设计为图片的一部分,或者使用背景图实现。
示例代码:
<!DOCTYPE html> <html lang="zh-CN"> <head> <meta charset="UTF-8">使用CSS背景图添加按钮示例</title> <style> .image-with-button { position: relative; display: inline-block; } .image-with-button img { width: 500px; height: auto; display: block; } .image-with-button::after { content: '点击'; position: absolute; top: 10px; left: 10px; padding: 10px 20px; background-color: rgba(255, 0, 0, 0.7); color: white; border-radius: 5px; cursor: pointer; } .image-with-button:hover::after { background-color: rgba(255, 0, 0, 0.9); } </style> </head> <body> <div class="image-with-button"> <img src="your-image.jpg" alt="示例图片"> </div> </body> </html>
说明:
- 使用伪元素::after在图片上添加文字作为按钮。
- 通过CSS设置按钮的位置、样式和悬停效果。
- 这种方法适用于简单的按钮效果,复杂交互仍需结合JavaScript。
使用JavaScript增强交互性
为了让按钮具备更多功能,如弹出提示、跳转链接、放大图片等,可以结合JavaScript进行扩展。
示例:点击按钮显示图片详情
<!DOCTYPE html> <html lang="zh-CN"> <head> <meta charset="UTF-8">带详细信息的按钮示例</title> <style> .image-container { position: relative; display: inline-block; } .image-container img { width: 500px; height: auto; display: block; } .info-button { position: absolute; bottom: 10px; left: 10px; padding: 10px 20px; background-color: #ff5722; color: white; border: none; cursor: pointer; font-size: 16px; } #info-modal { display: none; position: fixed; top: 0; left: 0; width: 100%; height: 100%; background-color: rgba(0,0,0,0.5); justify-content: center; align-items: center; } #info-modal .modal-content { background-color: #fff; padding: 20px; width: 300px; border-radius: 5px; } </style> </head> <body> <div class="image-container"> <img src="your-image.jpg" alt="示例图片"> <button class="info-button" onclick="showInfo()">查看详情</button> </div> <div id="info-modal"> <div class="modal-content"> <h2>图片详情</h2> <p>这里是图片的详细信息描述。</p> <button onclick="closeModal()">关闭</button> </div> </div> <script> function showInfo() { document.getElementById('info-modal').style.display = 'flex'; } function closeModal() { document.getElementById('info-modal').style.display = 'none'; } </script> </body> </html>
说明:
- 点击“查看详情”按钮后,弹出一个模态框显示图片的详细信息。
- 使用CSS隐藏和显示模态框,通过JavaScript控制其显示状态。
- 这种方法适用于需要展示更多信息或进行复杂操作的场景。
响应式设计考虑
在移动设备上,确保按钮和图片的布局自适应不同屏幕尺寸非常重要,可以使用媒体查询(media queries)来调整样式。
示例代码:
@media (max-width: 600px) { .image-container img { width: 100%; } .image-button { top: 5px; left: 5px; padding: 5px 10px; font-size: 14px; } }
说明:
- 当屏幕宽度小于600px时,图片宽度调整为100%,按钮位置和大小也相应调整,以适应小屏设备。
- 根据实际需求,可以进一步优化不同设备的布局和样式。
综合示例:图片轮播加按钮导航
结合上述方法,可以实现一个带有导航按钮的图片轮播。
示例代码:
<!DOCTYPE html> <html lang="zh-CN"> <head> <meta charset="UTF-8">图片轮播示例</title> <style> .carousel { position: relative; width: 600px; height: 400px; margin: auto; overflow: hidden; } .carousel img { width: 100%; height: 100%; display: none; } .carousel img.active { display: block; } .prev, .next { position: absolute; top: 50%; transform: translateY(-50%); background-color: rgba(0,0,0,0.5); color: white; border: none; padding: 10px; cursor: pointer; font-size: 18px; } .prev { left: 10px; } .next { right: 10px; } </style> </head> <body> <div class="carousel"> <img src="image1.jpg" class="active" alt="图片1"> <img src="image2.jpg" alt="图片2"> <img src="image3.jpg" alt="图片3"> <button class="prev" onclick="prevImage()">❮</button> <button class="next" onclick="nextImage()">❯</button> </div> <script> let current = 0; const images = document.querySelectorAll('.carousel img'); const total = images.length; function showImage(index) { images.forEach((img, i) => { img.classList.remove('active'); if(i === index) { img.classList.add('active'); } }); current = index; } function nextImage() { let index = (current + 1) % total; showImage(index); } function prevImage() { let index = (current 1 + total) % total; showImage(index); } </script> </body> </html>
说明:
- 创建一个轮播容器,包含多张图片和“上一张”、“下一张”按钮。
- 使用JavaScript控制当前显示的图片,通过按钮切换图片。
- 按钮使用Unicode字符表示箭头,简洁美观。
- 可以根据需要添加自动轮播、动画效果等功能。
注意事项
-
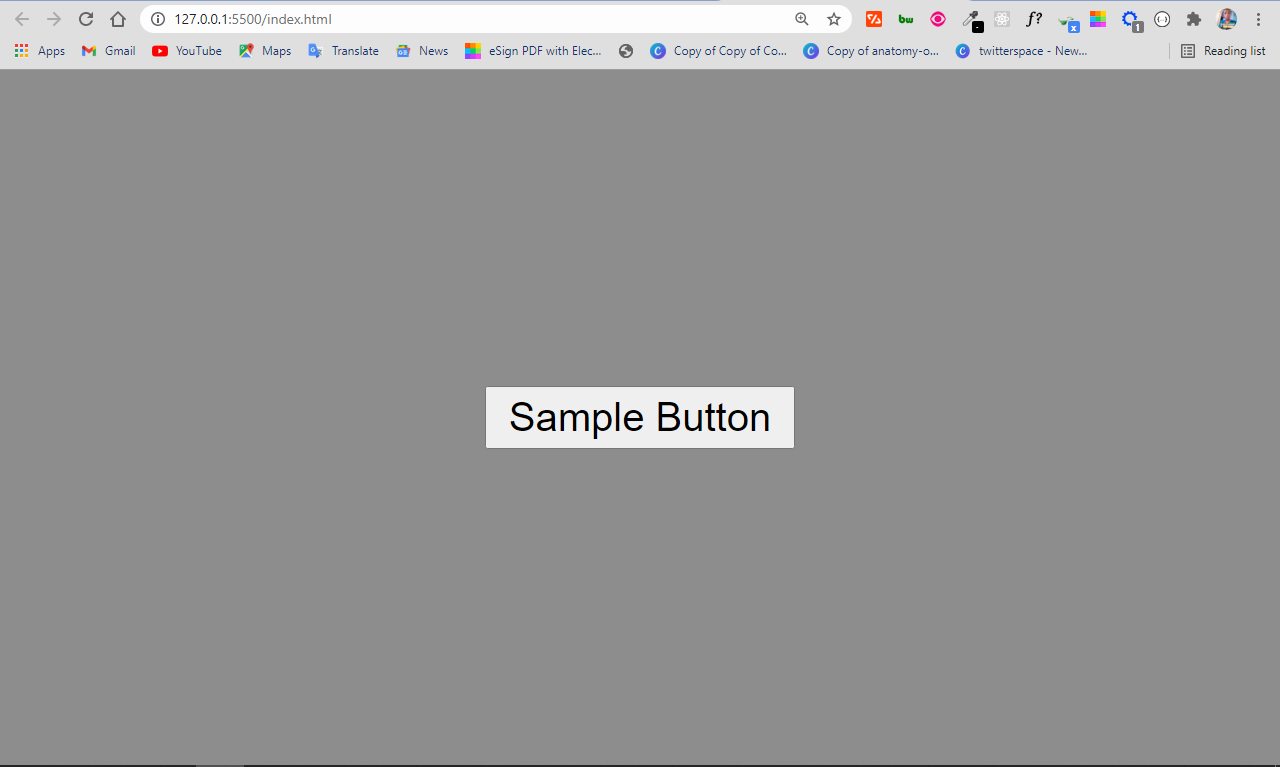
可访问性(Accessibility): 确保按钮有适当的标签和焦点管理,方便使用辅助设备的用户操作,使用aria-label属性为按钮提供描述。
-
响应式设计: 不同设备和屏幕尺寸下,按钮的位置和大小应自适应调整,避免遮挡图片内容或影响用户体验。
-
性能优化: 如果使用大量图片或复杂的交互效果,注意优化加载速度和资源管理,避免影响页面性能。
-
兼容性: 测试在不同浏览器和设备上的显示效果,确保一致性和兼容性,特别是对于旧版浏览器,可能需要添加前缀或使用Polyfill。
-
安全性: 如果按钮涉及用户输入或动态内容,注意防范XSS等安全漏洞,确保代码的安全性。
FAQs(常见问题解答)
问题1:如何在图片上添加多个按钮?
解答: 可以在HTML中添加多个按钮元素,并通过CSS分别定位它们的位置。
<div class="image-container"> <img src="your-image.jpg" alt="示例图片"> <button class="button1" style="top:10px; left:10px;">按钮1</button> <button class="button2" style="bottom:10px; right:10px;">按钮2</button> </div>
每个按钮使用不同的样式或类名进行定位和样式设置,确保它们不会重叠并覆盖在图片的合适位置,可以为每个按钮绑定不同的事件处理函数,实现各自的功能。
问题2:如何让按钮在图片上居中显示?
解答: 要让按钮在图片上居中显示,可以使用CSS的绝对定位结合变换属性。
.center-button { position: absolute; top: 50%; left: 50%; transform: translate(-50%, -50%); / 其他样式 / }
这样,按钮会基于父容器(图片容器)的中心位置进行定位,如果图片容器的大小发生变化,按钮仍会保持在中心位置。