上一篇
快速修改Linux系统时间教程
使用 date命令临时修改系统时间(需root权限),永久生效需用 timedatectl set-time设置时间,或配置时区( timedatectl set-timezone)并启用NTP同步( timedatectl set-ntp true)。
检查当前时间与时区
-
查看系统时间
date # 输出示例:Mon Jul 1 14:30:00 CST 2025 -
查看硬件时间(BIOS时间)
sudo hwclock --show # 需root权限 -
确认时区
timedatectl # 关注"Time zone"行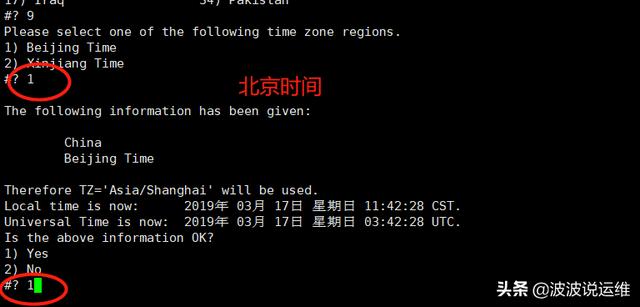
修改时区
方法1:使用 timedatectl(推荐)
sudo timedatectl set-timezone Asia/Shanghai # 替换为所需时区(如America/New_York)
方法2:手动创建符号链接
sudo rm /etc/localtime # 删除旧时区链接 sudo ln -s /usr/share/zoneinfo/Asia/Shanghai /etc/localtime # 新建链接
验证:执行 date 检查时区缩写(如CST、EST)。
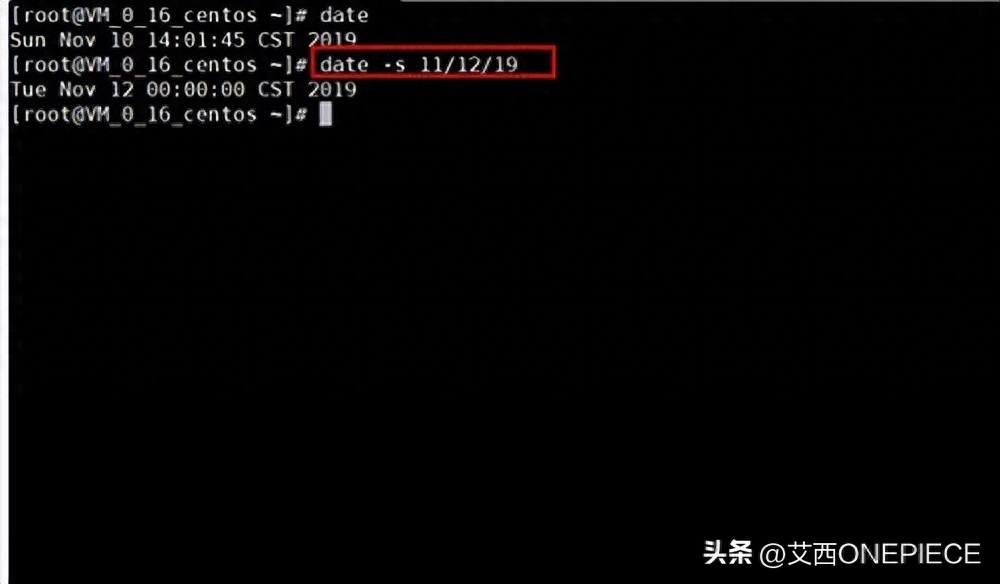
修改系统时间
临时调整(重启失效)
sudo date -s "2025-07-01 15:30:00" # 格式:YYYY-MM-DD HH:MM:SS
永久调整(需同步到硬件时钟)
sudo timedatectl set-time "2025-07-01 15:30:00" sudo hwclock --systohc # 将系统时间写入硬件时钟
修改硬件时间(RTC)
-
直接设置硬件时间
sudo hwclock --set --date "2025-07-01 15:30:00" -
从系统时间同步到硬件
sudo hwclock --systohc # 系统时间 → 硬件时间 -
从硬件时间同步到系统
sudo hwclock --hctosys # 硬件时间 → 系统时间
自动同步网络时间(推荐)
使用NTP服务确保时间精确:
-
安装NTP工具
sudo apt install chrony # Debian/Ubuntu sudo yum install chrony # CentOS/RHEL -
启用并配置服务
sudo systemctl enable --now chronyd # 启动并开机自启 sudo timedatectl set-ntp yes # 启用NTP同步 -
检查同步状态
chronyc tracking # 查看时间源状态 timedatectl status # 确认"NTP synchronized: yes"
注意事项
- 权限要求:所有命令需 root 权限(使用 sudo)。
- 虚拟机环境:
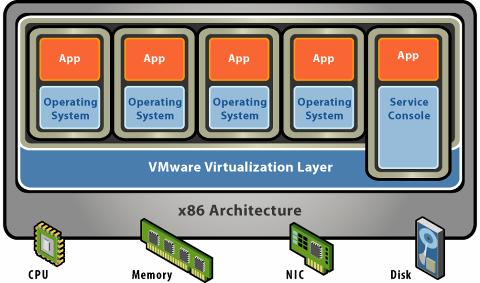
- VMware/VirtualBox:安装增强工具,启用时间同步选项。
- 避免同时使用NTP和宿主机同步,防止冲突。
- 服务依赖:
- 修改时间后重启关键服务: sudo systemctl restart cron rsyslog # 计划任务、日志服务
- 证书警告:若时间误差过大,HTTPS/SSL连接可能失败。
- 临时调整:用 date 命令快速修改。
- 永久生效:结合 timedatectl 和 hwclock --systohc。
- 长期方案:部署 chrony 或 ntpd 自动同步NTP时间。
重要:错误的时间设置可能导致系统故障,生产环境操作前建议备份关键数据。
引用说明:本文内容参考Linux官方文档(kernel.org)及man手册页(man timedatectl, man hwclock),操作基于主流通用发行版(Ubuntu 22.04/CentOS 7+)。