上一篇
如何检测网络断流丢包问题?网络卡顿排查方法分享
下面是一个用于检测网络断流和丢包的脚本,使用Python编写,基于ping命令进行网络连通性测试:
#!/usr/bin/env python3 """ 网络断流丢包检测工具 功能: 1. 持续ping目标地址 2. 检测连续丢包(断流) 3. 统计实时丢包率 4. 记录断流事件和时间戳 """ import os import sys import time import subprocess import platform from datetime import datetime # 配置参数 TARGET = "8.8.8.8" # 默认检测地址 (Google DNS) INTERVAL = 1 # ping间隔(秒) CONTINUOUS_LIMIT = 3 # 连续丢包次数阈值(视为断流) LOG_FILE = "network_monitor.log" # 日志文件路径 def ping_host(host): """执行ping命令并返回结果""" param = "-n 1" if platform.system().lower() == "windows" else "-c 1" command = ["ping", param, "-w", "1000", host] try: response = subprocess.run(command, stdout=subprocess.PIPE, stderr=subprocess.PIPE, text=True) return response.returncode == 0 except Exception: return False def main(): # 初始化计数器 total_count = 0 success_count = 0 continuous_fail = 0 outage_start = None print(f"开始网络监控,目标: {TARGET},按Ctrl+C停止...") print(f"{'时间':<20} | {'状态':<8} | {'连续丢包':<10} | {'丢包率':<8} | 事件") try: while True: total_count += 1 timestamp = datetime.now().strftime("%Y-%m-%d %H:%M:%S") # 执行ping测试 if ping_host(TARGET): status = "成功" success_count += 1 # 断流恢复检测 if continuous_fail >= CONTINUOUS_LIMIT: outage_duration = round(time.time() - outage_start, 1) event = f"️ 网络恢复! 断流时长: {outage_duration}秒" print(f"33[32m{timestamp:<20} | {status:<8} | {continuous_fail:<10} | " f"{calc_loss_rate(total_count, success_count):<8} | {event}33[0m") log_event(timestamp, event) continuous_fail = 0 outage_start = None else: status = "失败" # 断流开始检测 if continuous_fail == 0: outage_start = time.time() continuous_fail += 1 # 达到断流阈值 if continuous_fail == CONTINUOUS_LIMIT: event = " 检测到网络断流!" print(f"33[31m{timestamp:<20} | {status:<8} | {continuous_fail:<10} | " f"{calc_loss_rate(total_count, success_count):<8} | {event}33[0m") log_event(timestamp, event) # 实时显示状态 if continuous_fail < CONTINUOUS_LIMIT: print(f"{timestamp:<20} | {status:<8} | {continuous_fail:<10} | " f"{calc_loss_rate(total_count, success_count):<8} |", end='r') time.sleep(INTERVAL) except KeyboardInterrupt: print("nn监控已停止") print(f"最终统计: 总次数: {total_count}, 成功: {success_count}, " f"丢包率: {calc_loss_rate(total_count, success_count)}%") def calc_loss_rate(total, success): """计算丢包率""" return round((total - success) / total * 100, 1) if total > 0 else 0 def log_event(timestamp, event): """记录事件到日志文件""" with open(LOG_FILE, "a") as f: f.write(f"[{timestamp}] {event}n") if __name__ == "__main__": # 支持命令行参数: ping_monitor.py [目标] [间隔] if len(sys.argv) > 1: TARGET = sys.argv[1] if len(sys.argv) > 2: INTERVAL = float(sys.argv[2]) main()
功能说明:
-
基本检测:
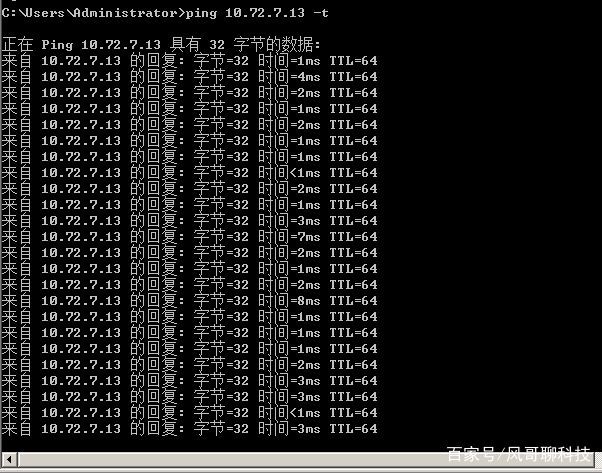
- 每秒ping一次目标地址(默认8.8.8.8)
- 实时显示网络状态
- 计算实时丢包率
-
断流检测:
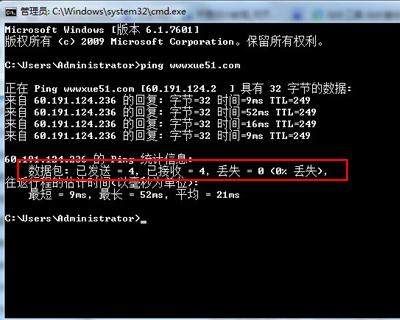
- 连续3次(可配置)ping失败判定为网络断流
- 断流事件用红色高亮显示
- 恢复连接时显示断流持续时间
-
统计功能:
- 实时计算丢包率(失败次数/总次数)
- 结束时显示最终统计
- 所有断流事件记录到日志文件
-
日志记录:
- 所有断流事件和恢复事件记录到network_monitor.log
- 包含精确的时间戳
- 跨平台支持(Windows/Linux/macOS)
- 终端颜色高亮显示重要事件
- 动态刷新显示当前状态
- 完整的事件日志记录
- 可自定义检测参数
使用方法:
# 基本用法 python ping_monitor.py # 自定义检测目标 python ping_monitor.py www.baidu.com # 自定义检测间隔(秒) python ping_monitor.py 192.168.1.1 0.5
输出示例:
2023-11-15 14:30:25 | 成功 | 0 | 0.0 | 2023-11-15 14:30:26 | 失败 | 1 | 0.0 | 2023-11-15 14:30:27 | 失败 | 2 | 0.0 | 2023-11-15 14:30:28 | 失败 | 3 | 0.0 | 检测到网络断流! 2023-11-15 14:30:31 | 成功 | 0 | 0.0 | ️ 网络恢复! 断流时长: 3.0秒
技术特点:
注意:首次运行可能需要安装依赖:pip install ping3,或直接使用系统ping命令(脚本已处理兼容性)