上一篇
如何在Ubuntu上面安装LAMP环境
大家都知道LAMP是一组开源软件的集合体,用来作为网站服务器的生产环境,这里简单的告诉大家如何在当前流行的Linux发型版本Ubuntu上面安装LAMP环境。
第一步:安装Apache
先更新一下还是有必要的对吧?
sudo apt-get update
sudo apt-get install apache2
就这么简单,完了!检查一下是不是安装成功:直接在浏览器里面输入VPS的IP看看,是不是有”“It works!”“类似的东西出现?有,那就可以了!
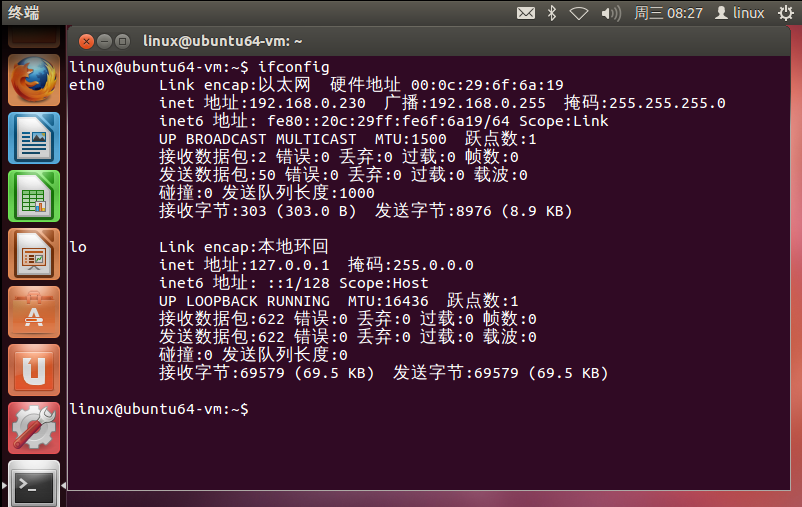
不知道自己的ip? 试试:ifconfig eth0 | grep inet | awk ‘{ print $2 }’
第二步:安装MySQL
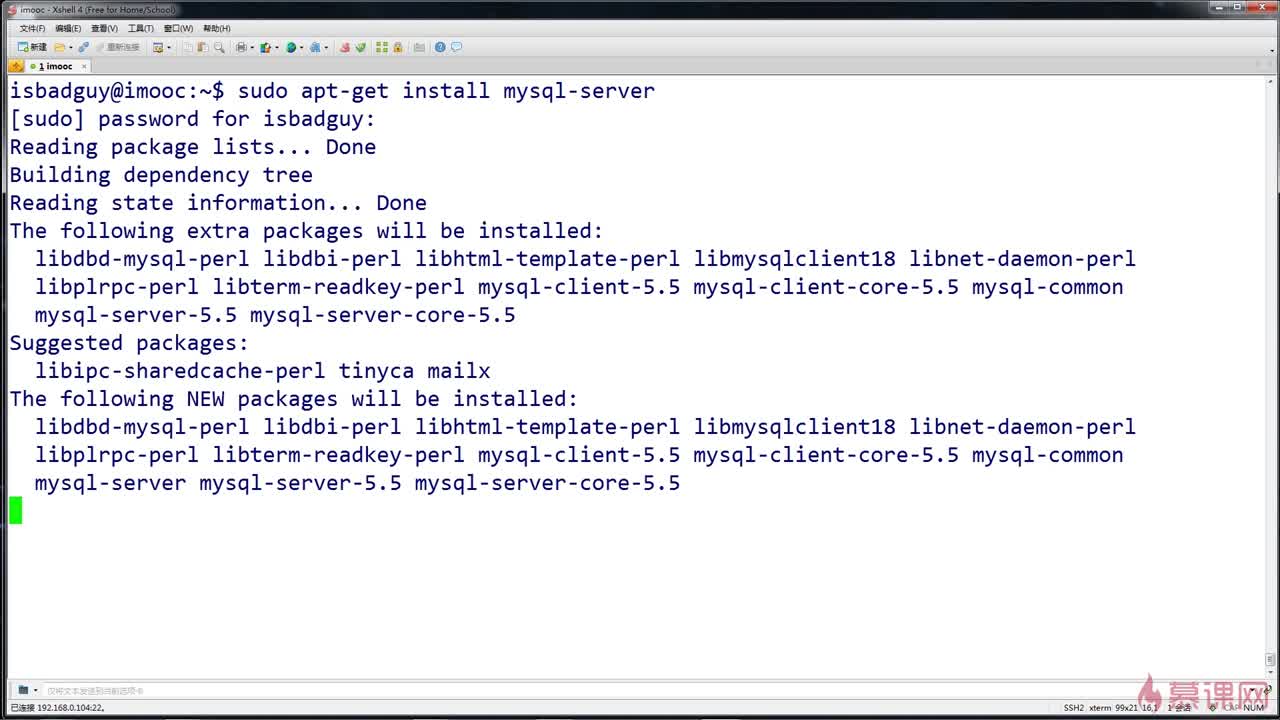
sudo apt-get install mysql-server libapache2-mod-auth-mysql php5-mysql
在MySQL安装期间会让你输入MySQL的root密码,如果你错过了那也没关系后面可以在shell里面修改。
启动MySQL: 安装完成后我们输入sudo mysql_install_db 就启动了
技术MySQL的设置脚本:
sudo /usr/bin/mysql_secure_installation
接下来提示让你输入root密码:
Enter current password for root (enter for none):
OK, successfully used password, moving on…
接下来会提示你是否需要修改密码,我么这里选择N,继续下面的步骤。接下来就是最简单的输入yes和no了,知道MySQL重启:
By default, a MySQL installation has an anonymous user, allowing anyone
to log into MySQL without having to have a user account created for
them. This is intended only for testing, and to make the installation
go a bit smoother. You should remove them before moving into a
production environment.
Remove anonymous users? [Y/n] y
… Success!
Normally, root should only be allowed to connect from ‘localhost’. This
ensures that someone cannot guess at the root password from the network.
Disallow root login remotely? [Y/n] y
… Success!
By default, MySQL comes with a database named ‘test’ that anyone can
access. This is also intended only for testing, and should be removed
before moving into a production environment.
Remove test database and access to it? [Y/n] y
– Dropping test database…
… Success!
– Removing privileges on test database…
… Success!
Reloading the privilege tables will ensure that all changes made so far
will take effect immediately.
Reload privilege tables now? [Y/n] y
… Success!
Cleaning up…
上面这就完成了MySQL,接下来我们来搞PHP。
第三步,安装PHP
输入 sudo apt-get install php5 libapache2-mod-php5 php5-mcrypt
接下来在提示让你两次确定YES后,PHP就自己开始安装了。
设置个PHP目录下的default 文件也许对你有用(非必须)
sudo nano /etc/apache2/mods-enabled/dir.conf
加入:
Direc”不可描述”yIndex index.php index.html index.cgi index.pl index.php index.xhtml index.htm
PHP有很多有用的组件什么的可以帮你:

输入
apt-cache search php5-
接下来会显示一大堆,大概像这样:
hp5-cgi – server-side, HTML-embedded scripting language (CGI binary)
php5-cli – command-line interpreter for the php5 scripting language
php5-common – Common files for packages built from the php5 source
php5-curl – CURL module for php5
php5-dbg – Debug symbols for PHP5
php5-dev – Files for PHP5 module development
php5-gd – GD module for php5
php5-gmp – GMP module for php5
php5-ldap – LDAP module for php5
php5-mysql – MySQL module for php5
php5-odbc – ODBC module for php5
php5-pgsql – PostgreSQL module for php5
php5-pspell – pspell module for php5
php5-recode – recode module for php5
php5-snmp – SNMP module for php5
php5-sqlite – SQLite module for php5
php5-tidy – tidy module for php5
php5-xmlrpc – XML-RPC module for php5
php5-xsl – XSL module for php5
php5-adodb – Extension optimising the ADOdb database abstraction library
php5-auth-pam – A PHP5 extension for PAM authentication
[…]
一旦你选定你需要安装的模块的话你只要输入类似这样的命令:
sudo apt-get install name of the module
你可以一次安装一个或者多个组件。
还想继续?没了!
第四步,在服务器上查看自己的PHP信息
创建个文件:sudo nano /var/www/info.php,在里面添加:
保存退出!
接下来重启Apache:
sudo service apache2 restart
在:http://ip/info.php下就能看到你需要和缺少的东西了!
真没了!