上一篇
如何配置Nginx服务器?Nginx配置详细步骤解析
安装Nginx
Ubuntu/Debian
sudo apt update sudo apt install nginx -y sudo systemctl start nginx sudo systemctl enable nginx
CentOS/RHEL
sudo yum install epel-release -y sudo yum install nginx -y sudo systemctl start nginx sudo systemctl enable nginx
核心目录结构
- 主配置文件:/etc/nginx/nginx.conf
- 虚拟主机配置:/etc/nginx/sites-available/ (存放配置) → 软链到 /etc/nginx/sites-enabled/ (生效配置)
- 默认网页根目录:/var/www/html/
- 日志:
- 访问日志:/var/log/nginx/access.log
- 错误日志:/var/log/nginx/error.log
基础配置示例
创建虚拟主机 (Server Block)
-
创建配置文件:
sudo nano /etc/nginx/sites-available/your_domain.conf -
基础模板:
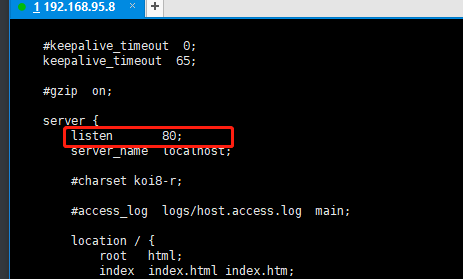
server { listen 80; server_name your-domain.com www.your-domain.com; root /var/www/your-domain.com/html; index index.html index.htm; location / { try_files $uri $uri/ =404; } # 静态文件缓存 location ~* .(jpg|jpeg|png|gif|ico|css|js)$ { expires 30d; add_header Cache-Control "public, no-transform"; } # 禁止访问隐藏文件 location ~ /.ht { deny all; } } -
启用配置:
sudo ln -s /etc/nginx/sites-available/your_domain.conf /etc/nginx/sites-enabled/ sudo nginx -t # 测试配置语法 sudo systemctl reload nginx
HTTPS配置(Let’s Encrypt)
安装Certbot
sudo apt install certbot python3-certbot-nginx -y # Ubuntu sudo certbot --nginx -d your-domain.com -d www.your-domain.com
自动更新证书:
sudo certbot renew --dry-run # 测试续订
强制HTTP跳转HTTPS
在server块中添加:
server { listen 80; server_name your-domain.com; return 301 https://$host$request_uri; # 重定向到HTTPS }
安全优化配置
/etc/nginx/nginx.conf 全局优化
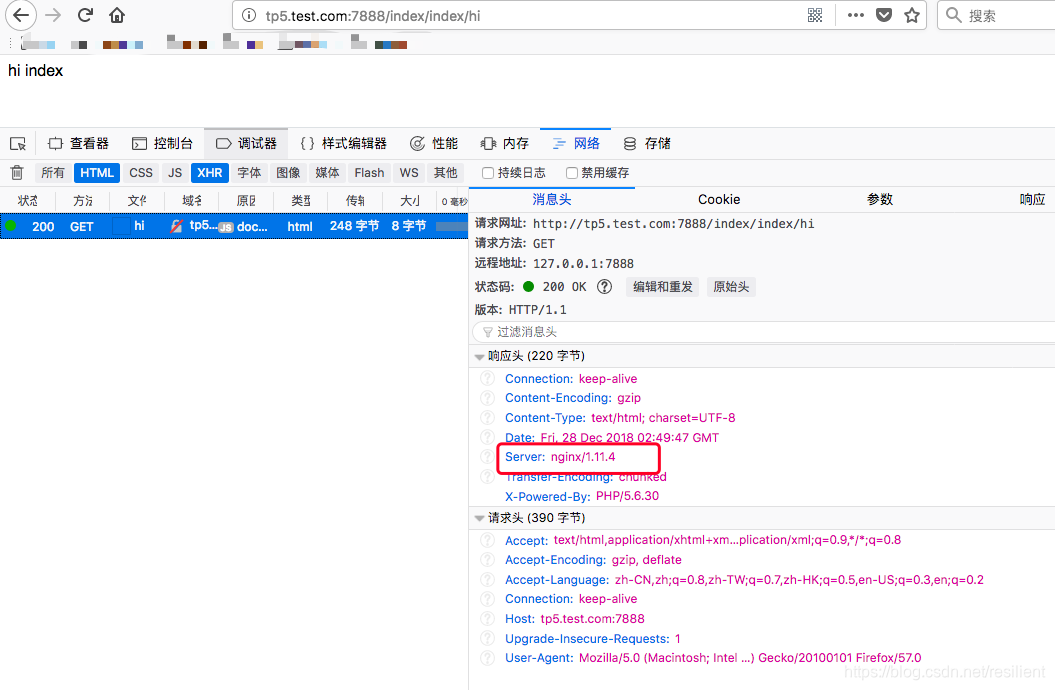
http { # 隐藏Nginx版本号 server_tokens off; # 安全头部 add_header X-Frame-Options "SAMEORIGIN"; add_header X-Content-Type-Options "nosniff"; add_header X-XSS-Protection "1; mode=block"; add_header Content-Security-Policy "default-src 'self'"; # 限制请求体大小(防DoS) client_max_body_size 10m; # 禁用非必要HTTP方法 if ($request_method !~ ^(GET|HEAD|POST)$ ) { return 405; } }
性能优化
http { # 开启Gzip压缩 gzip on; gzip_types text/plain text/css application/json application/javascript; # 连接优化 keepalive_timeout 30; keepalive_requests 1000; # 文件传输优化 sendfile on; tcp_nopush on; }
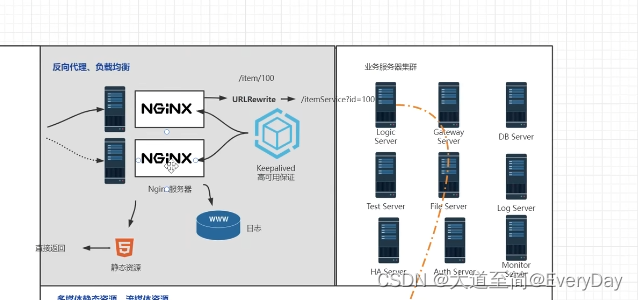
反向代理配置
代理到本地Node.js应用(端口3000):
location / { proxy_pass http://localhost:3000; proxy_set_header Host $host; proxy_set_header X-Real-IP $remote_addr; proxy_set_header X-Forwarded-For $proxy_add_x_forwarded_for; }
常见问题排查
-
测试配置:
sudo nginx -t
-
检查端口占用:
sudo ss -tulpn | grep ':80'
-
查看错误日志:
tail -f /var/log/nginx/error.log
-
权限问题:
确保网站目录权限:
sudo chown -R www-data:www-data /var/www/your-domain.com (Ubuntu)
sudo chown -R nginx:nginx /var/www/your-domain.com (CentOS)
高级场景
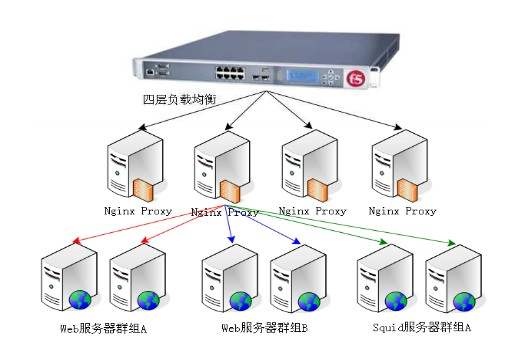
负载均衡(4个后端服务器)
upstream backend { server backend1.example.com weight=3; server backend2.example.com; server backend3.example.com backup; server backend4.example.com; } server { location / { proxy_pass http://backend; } }
WebSocket代理
location /ws/ { proxy_pass http://backend; proxy_http_version 1.1; proxy_set_header Upgrade $http_upgrade; proxy_set_header Connection "upgrade"; }
常用命令
| 功能 | 命令 |
|---|---|
| 启动 | sudo systemctl start nginx |
| 停止 | sudo systemctl stop nginx |
| 重启 | sudo systemctl restart nginx |
| 重载配置 | sudo systemctl reload nginx |
| 查看状态 | sudo systemctl status nginx |
通过以上步骤,您已完成Nginx的基础配置到高级优化,根据实际需求调整参数,并始终通过nginx -t验证配置后再重载服务。