上一篇
Apache图片服务器配置时,如何优化性能与安全性?
Apache 图片服务器配置
Apache 是一款非常流行的开源 HTTP 服务器软件,它不仅可以用于网站服务,还可以作为图片服务器使用,通过配置 Apache,可以实现高效、安全的图片服务,以下是一份详细的 Apache 图片服务器配置指南。
安装 Apache
在 Linux 系统中,可以使用以下命令安装 Apache:
sudo aptget install apache2
在 Windows 系统中,可以从 Apache 官网下载安装包,按照提示进行安装。
配置 Apache
编辑 Apache 配置文件
在 Linux 系统中,Apache 的配置文件位于 /etc/apache2/ 目录下,apache2.conf 是主配置文件。
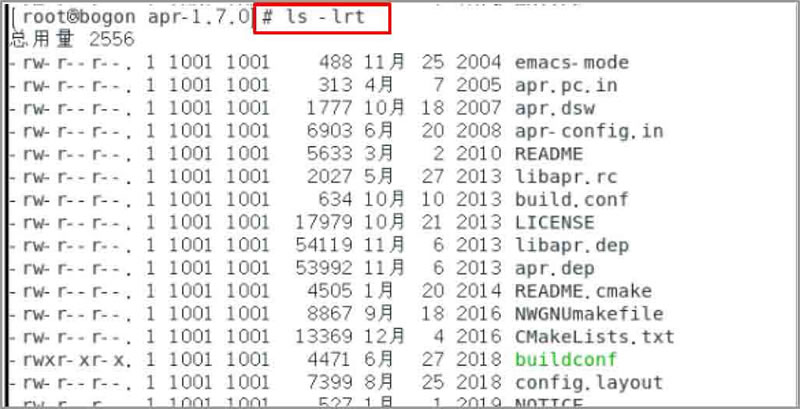
在 Windows 系统中,配置文件位于安装路径下的 conf 目录中。
设置文档根目录
将 DocumentRoot 指令的值设置为图片存储的目录,
DocumentRoot "/var/www/html/images"
设置错误日志和访问日志
在 apache2.conf 文件中,找到 ErrorLog 和 CustomLog 指令,并设置相应的日志文件路径:
ErrorLog "/var/log/apache2/error.log" CustomLog "/var/log/apache2/access.log" combined
配置虚拟主机
创建一个新的虚拟主机配置文件,images.conf:
sudo nano /etc/apache2/sitesavailable/images.conf
在 images.conf 文件中,添加以下内容:
<VirtualHost *:80> ServerAdmin admin@example.com ServerName images.example.com DocumentRoot "/var/www/html/images" ErrorLog "/var/log/apache2/images_error.log" CustomLog "/var/log/apache2/images_access.log" combined </VirtualHost>
启用虚拟主机
将 images.conf 文件链接到 sitesenabled 目录:
sudo ln s /etc/apache2/sitesavailable/images.conf /etc/apache2/sitesenabled/
重启 Apache 服务
sudo systemctl restart apache2
优化 Apache 图片服务器性能
- 设置 KeepAlive 和 KeepAliveTimeout
在 apache2.conf 文件中,设置 KeepAlive 和 KeepAliveTimeout 指令,以启用持久连接:
KeepAlive On KeepAliveTimeout 15
- 设置 MaxKeepAliveRequests
在 apache2.conf 文件中,设置 MaxKeepAliveRequests 指令,限制每个连接的最大请求数:
MaxKeepAliveRequests 100
- 设置 Cache
在 apache2.conf 文件中,设置 Cache 指令,启用缓存功能:
CacheEnable disk / CacheRoot "/var/cache/apache2" CacheMaxSize "10GB"
FAQs
问题:如何设置 Apache 图片服务器只允许特定域名访问?
解答:在 images.conf 文件中,使用 ServerName 指令指定允许访问的域名,
ServerName images.example.com
问题:如何设置 Apache 图片服务器只允许特定 IP 地址访问?
解答:在 images.conf 文件中,使用 Allow 和 Deny 指令限制访问权限,
<Directory "/var/www/html/images"> Order Allow,Deny Allow from 192.168.1.0/24 Deny from all </Directory>