上一篇
光线速度效果js
- 行业动态
- 2025-04-22
- 5
技术原理
光线速度效果通常通过 粒子运动轨迹 和 动态渐变 结合实现,利用 JavaScript 控制粒子从起点到终点的高速移动,并在移动过程中添加光影渐变效果,核心原理包括:
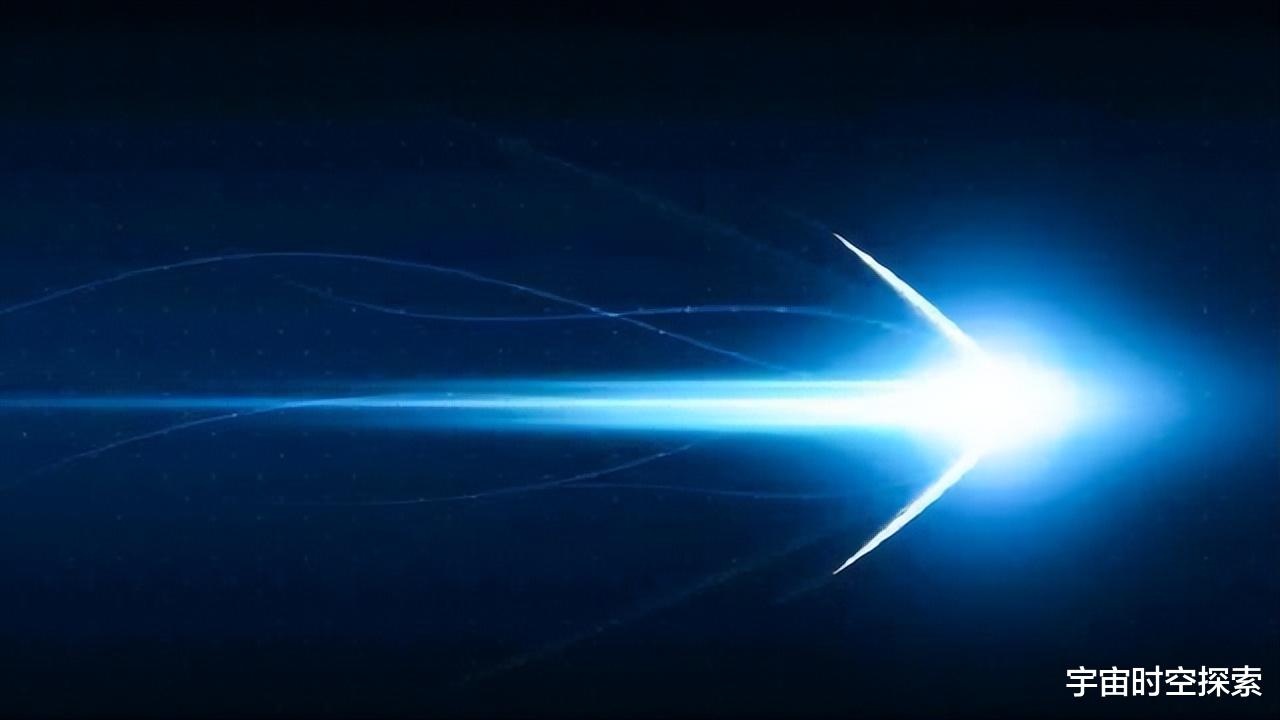
- 运动轨迹计算:基于起点和终点的坐标,计算粒子运动的路径(直线/曲线)。
- 速度控制:通过时间戳和位移差模拟高速移动。
- 视觉增强:添加透明度渐变、颜色变化或模糊效果,增强光速感。
核心实现步骤
创建画布与粒子类
// 获取Canvas上下文
const canvas = document.getElementById('lightCanvas');
const ctx = canvas.getContext('2d');
// 定义粒子类
class LightParticle {
  constructor(x, y, targetX, targetY) {
    this.x = x;
    this.y = y;
    this.targetX = targetX;
    this.targetY = targetY;
    this.speed = 5; // 基础速度系数
    this.opacity = 1; // 初始透明度
  }
  // 更新粒子位置
  update() {
    const dx = this.targetX this.x;
    const dy = this.targetY this.y;
    const distance = Math.sqrt(dx  dx + dy  dy);
    // 计算新位置(向目标点靠近)
    this.x += (dx / distance)  this.speed;
    this.y += (dy / distance)  this.speed;
    // 透明度衰减
    this.opacity -= 0.02;
    // 到达目标点或完全透明时销毁粒子
    if (this.opacity <= 0 || distance < 1) {
      return null;
    }
    return this;
  }
  // 绘制粒子
  draw() {
    ctx.fillStyle = `rgba(255, 255, 0, ${this.opacity})`; // 黄色光影
    ctx.beginPath();
    ctx.arc(this.x, this.y, 2, 0, Math.PI  2);
    ctx.fill();
  }
}
触发粒子生成
// 鼠标点击生成光线
canvas.addEventListener('click', (event) => {
  const rect = canvas.getBoundingClientRect();
  const startX = event.clientX rect.left;
  const startY = event.clientY rect.top;
  // 随机生成终点坐标(模拟光速延伸)
  const endX = startX + (Math.random()  400 200);
  const endY = startY + (Math.random()  400 200);
  particles.push(new LightParticle(startX, startY, endX, endY));
});
动画循环与渲染
const particles = [];
function animate() {
  ctx.clearRect(0, 0, canvas.width, canvas.height); // 清除画布
  const newParticles = [];
  // 更新并绘制所有粒子
  for (let particle of particles) {
    const updated = particle.update();
    if (updated) {
      updated.draw();
      newParticles.push(updated);
    }
  }
  particles.length = 0; // 清空数组
  particles.push(...newParticles); // 添加存活粒子
  requestAnimationFrame(animate);
}
animate();
参数说明表
| 参数名 | 类型 | 作用 | 取值范围/示例 |
|---|---|---|---|
speed |
Number | 粒子移动速度 | 3-10 |
opacity |
Number | 初始透明度 | 8-1.0 |
decayRate |
Number | 透明度衰减速率 | 01-0.05 |
color |
String | 粒子颜色(RGBA) | rgba(255, 255, 0, 1) |
size |
Number | 粒子半径 | 1-5 |
效果优化技巧
- 性能优化:使用
requestAnimationFrame替代setInterval,减少重绘开销。 - 尾迹效果:在粒子移动路径上生成多个小粒子,模拟光轨拖影。
- 物理模拟:添加加速度或重力偏移,让光线更自然。
完整示例代码
<!DOCTYPE html>
<html>
<head>光线速度效果</title>
  <style>
    #lightCanvas {
      background: #000;
      position: fixed;
      top: 0;
      left: 0;
      width: 100vw;
      height: 100vh;
    }
  </style>
</head>
<body>
  <canvas id="lightCanvas"></canvas>
  <script>
    // 上述代码粘贴此处(粒子类、事件监听、动画循环)
  </script>
</body>
</html>
问题与解答
问题1:如何调整光线的速度和长度?
解答:
- 速度:修改
LightParticle类中的speed参数(数值越大,速度越快)。 - 长度:调整
speed和opacity的衰减速率(decayRate),数值越大,光线越短。
问题2:为什么光线在某些设备上会卡顿?
解答:
- 原因:大量粒子同时渲染可能导致性能下降,尤其在低性能设备上。
- 解决方案:
- 限制粒子数量(如每次仅生成少量粒子)。
- 使用离屏Canvas渲染,减少DOM操作。
- 降低粒子分辨率(如减小
size或减少颜色计算

