上一篇
安卓工程调用mysql数据库
- 行业动态
- 2025-04-21
- 7
环境准备
MySQL数据库配置
| 步骤 | 说明 |
|---|---|
| 安装MySQL | 在服务器或本地电脑安装MySQL(建议使用5.7+版本) |
| 创建数据库 | CREATE DATABASE android_db CHARACTER SET utf8mb4 COLLATE utf8mb4_unicode_ci; |
| 创建用户并授权 | “`sql |
CREATE USER ‘android_user’@’%’ IDENTIFIED BY ‘password’;
GRANT ALL PRIVILEGES ON android_db. TO ‘android_user’@’%’;
FLUSH PRIVILEGES;
| 配置远程访问        | 修改`my.cnf`添加`bind-address = 0.0.0.0`,重启MySQL服务             |
# 2. 搭建中间层服务(必须)
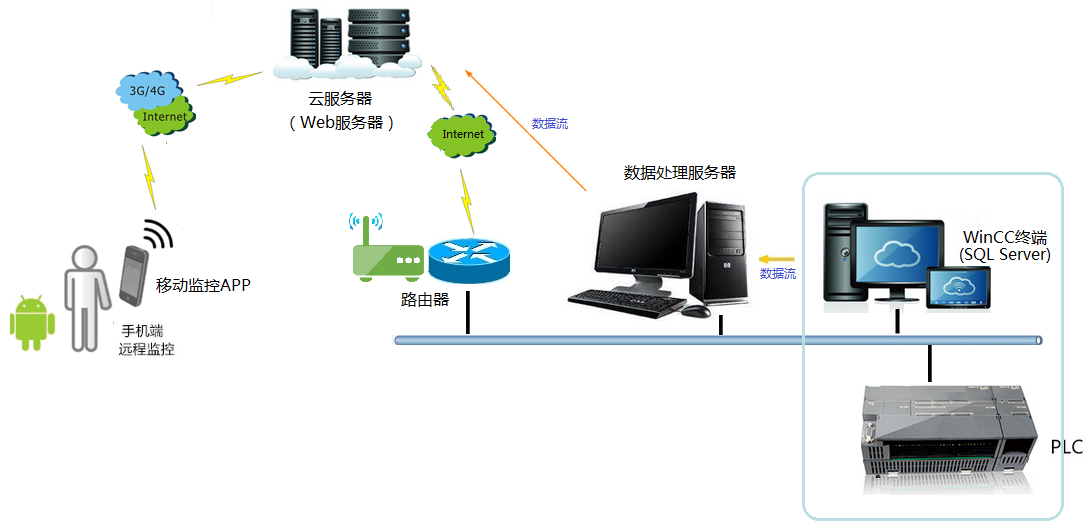
原因:Android无法直接连接MySQL,需通过Web服务中转
技术选型:Spring Boot/Java Servlet/Node.js
示例:Spring Boot实现CRUD接口
---
 二、Spring Boot后端实现
# 1. 项目结构
src/main/java/com/example/demo
├── controller
│ └── UserController.java
├── service
│ └── UserService.java
├── repository
│ └── UserRepository.java
└── DemoApplication.java
# 2. 核心代码示例
(1) 实体类
```java
@Data
public class User {
    private Integer id;
    private String name;
    private Integer age;
}
(2) Mapper接口
@Mapper
public interface UserRepository {
    @Select("SELECT  FROM user WHERE id = #{id}")
    User findById(Integer id);
    @Insert("INSERT INTO user(name,age) VALUES(#{name},#{age})")
    @Options(useGeneratedKeys = true, keyProperty = "id")
    int insert(User user);
    // 其他CRUD方法...
}
(3) Service层
@Service
public class UserService {
    @Autowired
    private UserRepository userRepository;
    public User getUser(Integer id) {
        return userRepository.findById(id);
    }
    public int addUser(User user) {
        return userRepository.insert(user);
    }
}
(4) Controller层
@RestController
@RequestMapping("/api/user")
public class UserController {
    @Autowired
    private UserService userService;
    @GetMapping("/{id}")
    public User getUser(@PathVariable Integer id) {
        return userService.getUser(id);
    }
    @PostMapping("")
    public int addUser(@RequestBody User user) {
        return userService.addUser(user);
    }
}
Android客户端实现
添加依赖
// build.gradle (app)
dependencies {
    implementation 'com.squareup.retrofit2:retrofit:2.9.0'
    implementation 'com.squareup.retrofit2:converter-gson:2.9.0'
    implementation 'com.squareup.okhttp3:logging-interceptor:4.9.0'
}
网络请求配置
(1) 定义API接口
public interface ApiService {
    @GET("api/user/{id}")
    Call<User> getUser(@Path("id") int id);
    @POST("api/user")
    Call<Integer> addUser(@Body User user);
}
(2) 创建Retrofit实例
public class ApiClient {
    private static final String BASE_URL = "http://your-server-ip:port/";
    private static Retrofit retrofit;
    public static Retrofit getInstance() {
        if(retrofit == null) {
            OkHttpClient client = new OkHttpClient.Builder()
                .addInterceptor(new HttpLoggingInterceptor().setLevel(HttpLoggingInterceptor.Level.BODY))
                .build();
            retrofit = new Retrofit.Builder()
                .baseUrl(BASE_URL)
                .client(client)
                .addConverterFactory(GsonConverterFactory.create())
                .build();
        }
        return retrofit;
    }
}
数据模型类
public class User {
    @SerializedName("id")
    private int id;
    @SerializedName("name")
    private String name;
    @SerializedName("age")
    private int age;
    // getter/setter...
}
网络请求示例
ApiService apiService = ApiClient.getInstance().create(ApiService.class);
// GET请求示例
Call<User> call = apiService.getUser(1);
call.enqueue(new Callback<User>() {
    @Override
    public void onResponse(Call<User> call, Response<User> response) {
        if(response.isSuccessful()) {
            User user = response.body();
            // 处理数据
        }
    }
    @Override
    public void onFailure(Call<User> call, Throwable t) {
        // 处理失败
    }
});
关键注意事项
| 风险点 | 解决方案 |
|---|---|
| 明文传输密码 | 后端使用HTTPS,前端配置证书信任(OkHttp支持自签名证书) |
| SQL注入攻击 | 后端使用预编译语句(如MyBatis的@Param),前端做参数校验 |
| 主线程网络操作 | 使用enqueue异步请求,或配合RxJava/Coroutine处理 |
| IP地址变化问题 | 使用域名解析(需购买域名)或内网穿透工具(如ngrok) |
| 跨域问题 | 后端配置CORS(@CrossOrigin注解或Spring配置) |
相关问题与解答
Q1:为什么不直接用Android的Room数据库?
A:Room是本地数据库,适用于存储少量离线数据,MySQL是远程关系型数据库,适合:
- 多设备共享数据
- 存储大量结构化数据
- 需要复杂查询的场景
Q2:如何保证数据传输安全?
A:
- 加密传输:强制使用HTTPS(配置SSL证书)
- 参数校验:后端验证所有输入参数合法性
- 权限控制:为不同用户分配最小化数据库权限
- 数据脱敏:敏感字段加密存储(如AES加密)

