上一篇
如何快速搭建高性能Go语言服务器?
本教程介绍使用Go语言快速搭建Web服务器的基本步骤,涵盖net/http包使用、路由配置和端口监听,通过创建处理函数、注册路由并调用ListenAndServe启动服务,实现接收HTTP请求与返回响应,适合开发者构建轻量级后端应用。
Go语言凭借高效、简洁和强大的并发特性,成为构建高性能服务器的理想选择,本文将手把手演示如何用Go搭建专业级服务器,并提供符合生产环境要求的最佳实践。
---
### 一、环境准备
1. **安装Go开发环境**
   访问[官方下载页面](https://golang.org/dl/)获取最新版本,配置`$GOPATH`环境变量:
   ```bash
   export GOPATH=$HOME/go
   export PATH=$PATH:$GOPATH/bin
- 验证安装
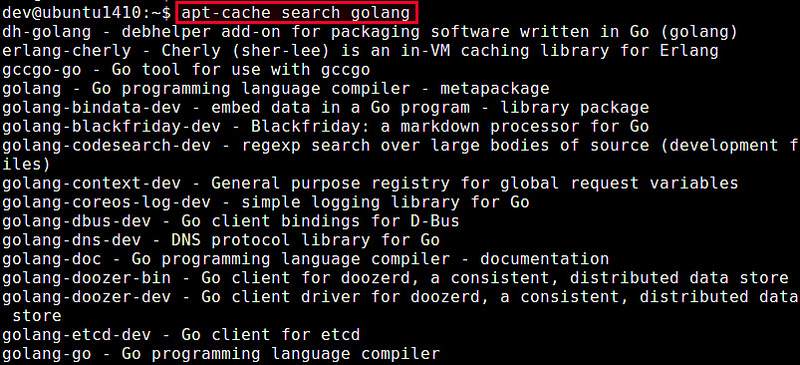
命令行执行go version,若显示类似go1.21.0 darwin/amd64即安装成功
创建HTTP服务器
初始化项目
新建项目目录并初始化模块:mkdir my-server && cd my-server go mod init github.com/yourname/my-server
基础服务器代码
创建main.go文件:package main import ( "fmt" "net/http" ) func main() { http.HandleFunc("/", func(w http.ResponseWriter, r *http.Request) { fmt.Fprintf(w, "欢迎访问Go服务器!当前时间:%v", time.Now().Format("2006-01-02 15:04:05")) }) fmt.Println("服务器启动在 :8080") err := http.ListenAndServe(":8080", nil) if err != nil { panic(err) } }运行测试
执行go run main.go,浏览器访问http://localhost:8080
进阶配置
路由管理
推荐使用Gin或Echo框架:go get -u github.com/gin-gonic/gin
func main() {
    r := gin.Default()
    r.GET("/api/data", getDataHandler)
    r.POST("/api/upload", uploadHandler)
    r.Run(":8080")
}
中间件配置
添加日志、恢复和限流中间件:
func LoggerMiddleware(next http.Handler) http.Handler {
    return http.HandlerFunc(func(w http.ResponseWriter, r *http.Request) {
        start := time.Now()
        next.ServeHTTP(w, r)
        log.Printf("%s %s %v", r.Method, r.URL.Path, time.Since(start))
    })
}
安全配置
server := &http.Server{
    Addr:         ":8443",
    ReadTimeout:  5 * time.Second,
    WriteTimeout: 10 * time.Second,
    IdleTimeout:  120 * time.Second,
    TLSConfig:    tlsConfig,
}
生产部署
编译应用
GOOS=linux GOARCH=amd64 go build -o server
进程管理
使用systemd创建服务文件:[Unit] Description=Go Web Server [Service] ExecStart=/opt/server Restart=always EnvironmentFile=/etc/server.conf [Install] WantedBy=multi-user.target
HTTPS配置
使用Let’s Encrypt证书:err := http.ListenAndServeTLS(":443", "/etc/letsencrypt/live/domain.com/fullchain.pem", "/etc/letsencrypt/live/domain.com/privkey.pem", nil)
性能优化
连接池配置
var transport = &http.Transport{
    MaxIdleConns:        100,
    IdleConnTimeout:    90 * time.Second,
    DisableCompression: true,
}
压力测试
使用wrk工具:wrk -t12 -c400 -d30s http://localhost:8080
监控与维护
添加健康检查
r.GET("/health", func(c *gin.Context) {
    c.JSON(200, gin.H{"status": "ok"})
})
集成Prometheus
go get github.com/prometheus/client_golang/prometheus
var requestCount = prometheus.NewCounter(
    prometheus.CounterOpts{
        Name: "http_requests_total",
        Help: "Total HTTP requests",
    })
func init() {
    prometheus.MustRegister(requestCount)
}
引用说明:
- Go语言官方文档 golang.org/doc
- Gin Web框架文档 gin-gonic.com/docs
- Let’s Encrypt证书申请 letsencrypt.org
- Prometheus监控系统 prometheus.io