上一篇
如何快速配置ECS云服务器?
- 行业动态
- 2025-04-19
- 5
第一步:购买与选型
确定需求
- 业务场景:根据网站类型(电商、博客、企业官网等)预估流量和性能需求。
- 实例规格:
- 轻量级应用(个人博客、测试环境):1核2GB、2核4GB。
- 高并发场景(电商、API服务):4核8GB及以上,建议选择计算优化型或通用型实例。
- 地域选择:优先选择靠近用户群体的机房(例如华北、华东等),降低网络延迟。
选择云服务商
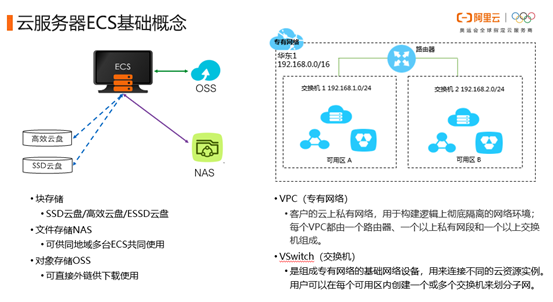
- 主流平台:阿里云ECS、酷盾CVM、华为云ECS,对比价格、活动优惠及售后服务。
- 系统镜像:推荐CentOS 7.9或Ubuntu 22.04 LTS(长期支持版本),稳定性高且社区资源丰富。
第二步:基础配置与登录
安全组设置
- 必开端口:
- SSH(22):远程登录。
- HTTP(80)/HTTPS(443):网站服务。
- 自定义端口需明确用途(如MySQL默认3306)。
- IP白名单:限制SSH登录IP为办公室或家庭网络,提升安全性。
- 必开端口:
SSH密钥对登录
# 生成密钥对(本地操作)
ssh-keygen -t rsa -b 4096 -C "your_email@example.com"
# 上传公钥至云服务器控制台
# 登录服务器(替换为你的IP)
ssh -i ~/.ssh/private_key root@your_server_ip
- 禁用密码登录:修改
/etc/ssh/sshd_config,设置PasswordAuthentication no后重启服务。
- 禁用密码登录:修改
第三步:系统初始化
更新软件源
# CentOS
yum update -y && yum upgrade -y
# Ubuntu
apt update -y && apt upgrade -y
安装必备工具
# 通用工具包
yum install -y wget curl vim git unzip    # CentOS
apt install -y wget curl vim git unzip   # Ubuntu
配置时区与时间同步
timedatectl set-timezone Asia/Shanghai
systemctl enable chronyd && systemctl start chronyd  # CentOS
systemctl enable systemd-timesyncd && systemctl start systemd-timesyncd  # Ubuntu
第四步:部署Web环境(以Nginx+PHP为例)
安装Nginx
# CentOS
yum install -y nginx && systemctl start nginx
# Ubuntu
apt install -y nginx && systemctl start nginx
安装PHP 8.2
# CentOS
yum install -y epel-release
yum install -y https://rpms.remirepo.net/enterprise/remi-release-7.rpm
yum-config-manager --enable remi-php82
yum install -y php php-fpm php-mysqlnd
# Ubuntu
apt install -y software-properties-common
add-apt-repository ppa:ondrej/php -y
apt update && apt install -y php8.2 php8.2-fpm php8.2-mysql
配置Nginx与PHP联动
- 编辑
/etc/nginx/conf.d/default.conf,添加以下内容:location ~ .php$ { fastcgi_pass unix:/var/run/php/php8.2-fpm.sock; fastcgi_index index.php; include fastcgi_params; } - 重启服务:
systemctl restart nginx && systemctl restart php-fpm
- 编辑
第五步:安全加固
防火墙配置(firewalld/ufw)
# CentOS(firewalld)
firewall-cmd --permanent --add-service=http
firewall-cmd --permanent --add-service=https
firewall-cmd --reload
# Ubuntu(ufw)
ufw allow 80/tcp
ufw allow 443/tcp
ufw enable
Fail2ban防暴力破解
# 安装
yum install -y fail2ban    # CentOS
apt install -y fail2ban    # Ubuntu
# 配置SSH防护
cp /etc/fail2ban/jail.conf /etc/fail2ban/jail.local
sed -i 's/bantime  = 10m/bantime  = 1h/g' /etc/fail2ban/jail.local
systemctl restart fail2ban
定期备份与监控
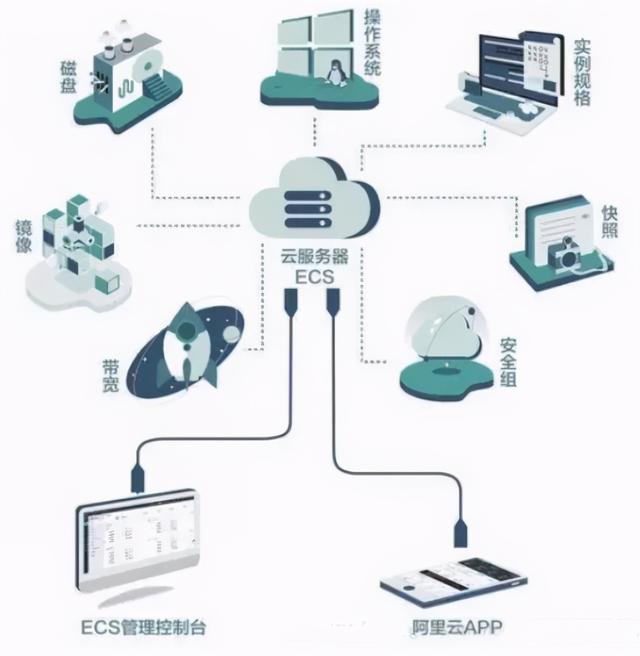
- 快照功能:通过云平台控制台每周自动创建系统盘快照。
- 资源监控:安装云监控插件(如阿里云CloudMonitor),设置CPU、内存超阈值报警。
第六步:域名与HTTPS绑定
域名解析
在域名服务商处添加A记录,指向ECS服务器的公网IP。
申请SSL证书
- 免费证书推荐:Let’s Encrypt(通过Certbot自动化部署):
# 安装Certbot
snap install --classic certbot
certbot --nginx
# 按提示选择域名并自动配置HTTPS
- 免费证书推荐:Let’s Encrypt(通过Certbot自动化部署):
维护与优化建议
定期更新系统:
# 设置自动安全更新
yum install -y yum-cron && systemctl enable yum-cron    # CentOS
apt install -y unattended-upgrades && dpkg-reconfigure unattended-upgrades   # Ubuntu
日志管理:
- 使用
logrotate分割Nginx/PHP日志,避免磁盘占满。
- 使用
性能调优:
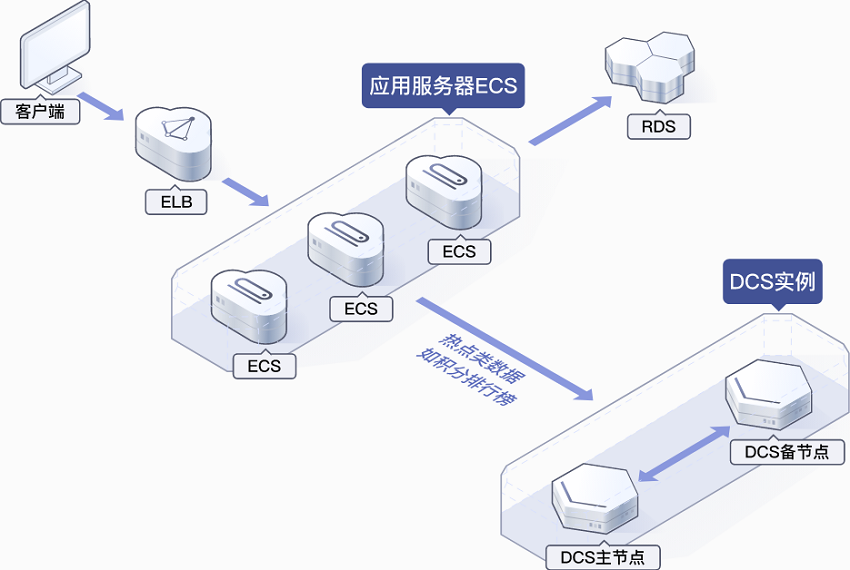
- 数据库独立部署:高负载场景建议使用云数据库(如RDS)。
- CDN加速:静态资源通过CDN分发,降低服务器压力。
引用说明
本文参考以下权威资料:
- 阿里云ECS官方文档:https://help.aliyun.com/product/25365.html
- 酷盾CVM最佳实践:https://cloud.tencent.com/document/product/213/2760
- Let’s Encrypt Certbot指南:https://certbot.eff.org/instructions
- Nginx官方配置手册:https://nginx.org/en/docs/
提示:操作涉及系统权限,建议在测试环境验证后再部署至生产服务器。

